|
|||||||||||||||||||||||||||||
|
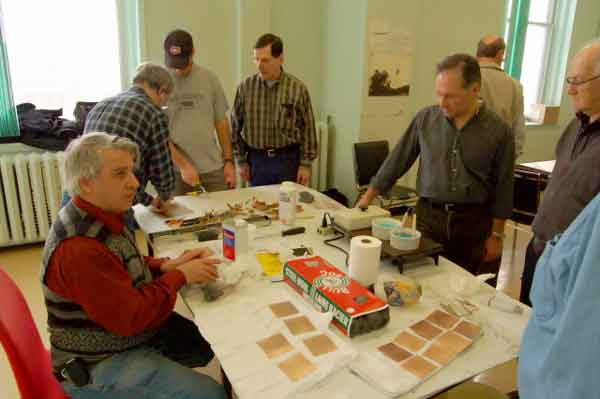
Making the PCB |
|||||||||||||||||||||||||||||
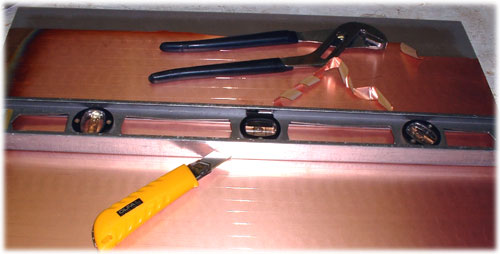
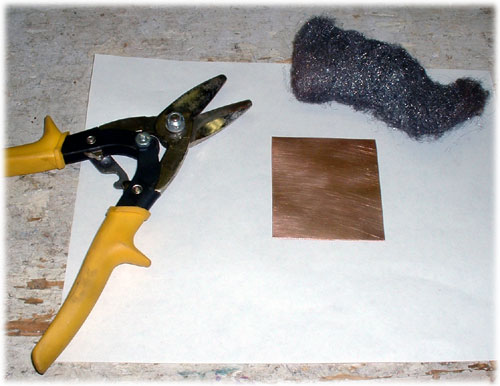
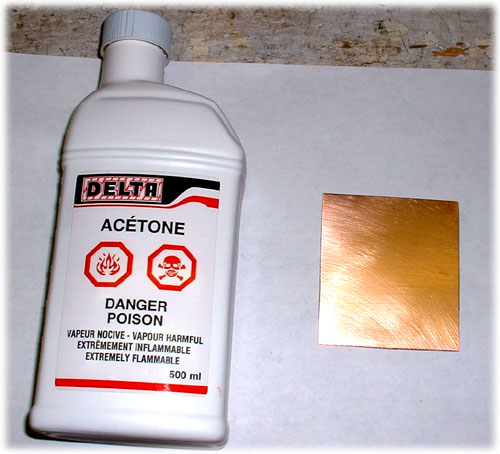
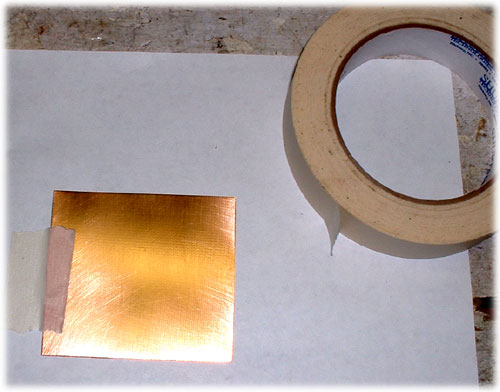
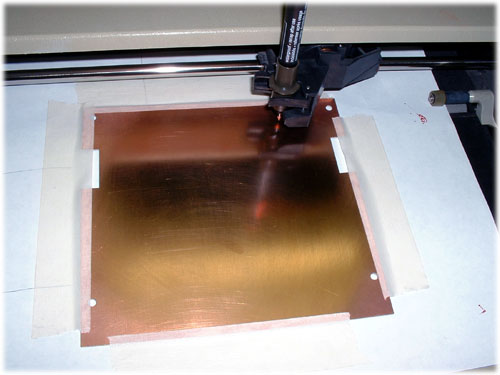
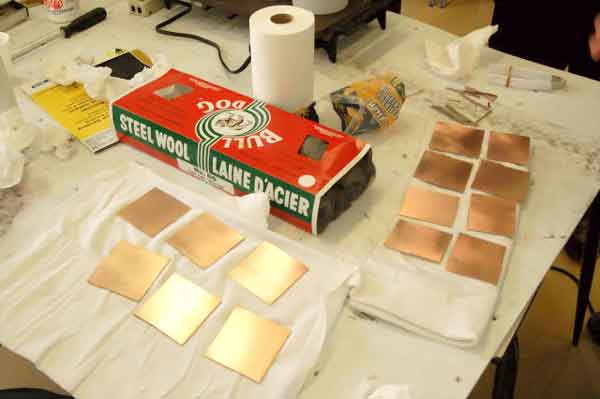
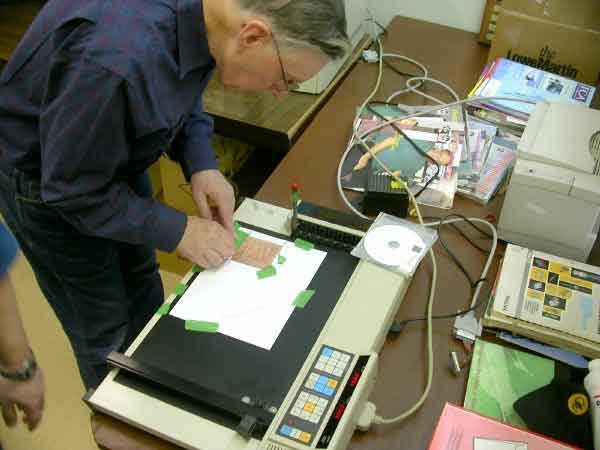
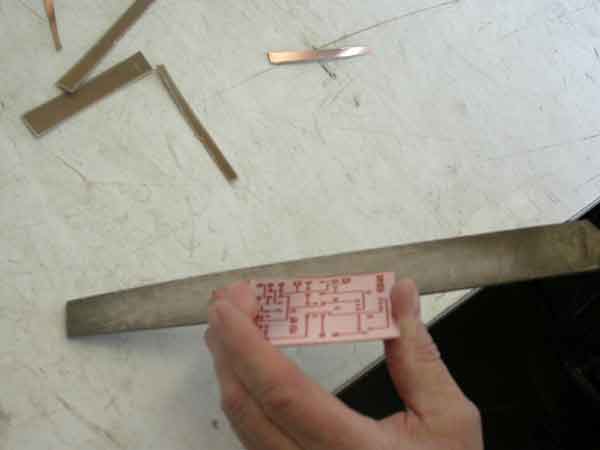
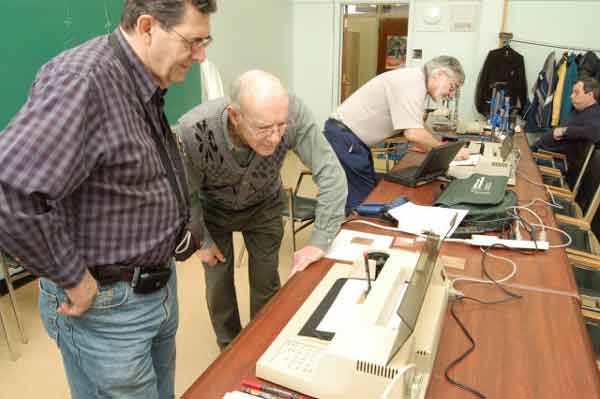
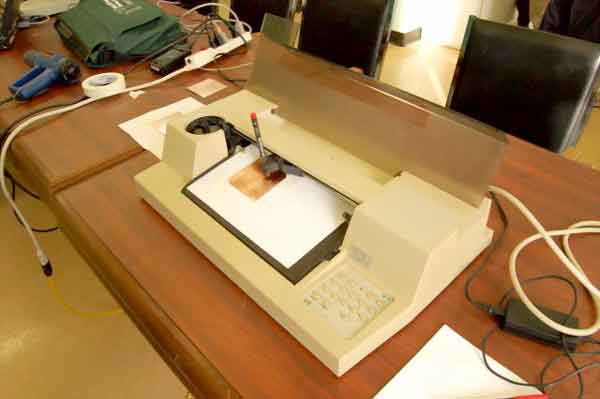
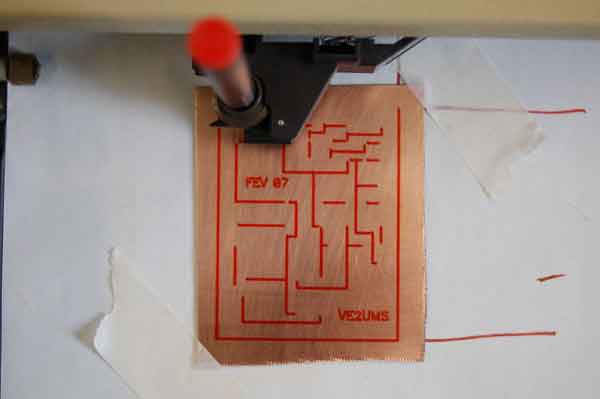
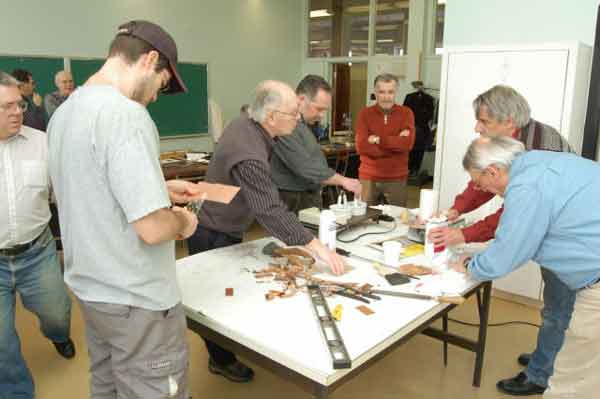
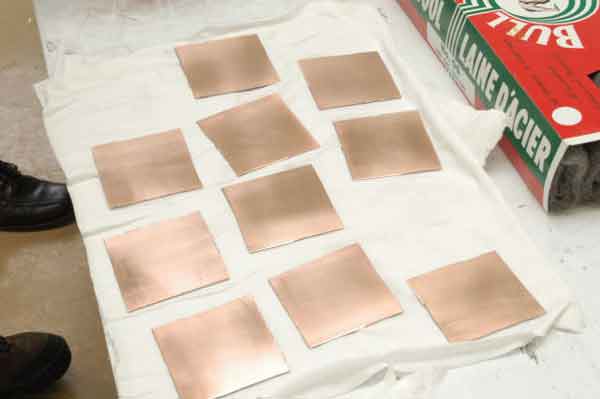
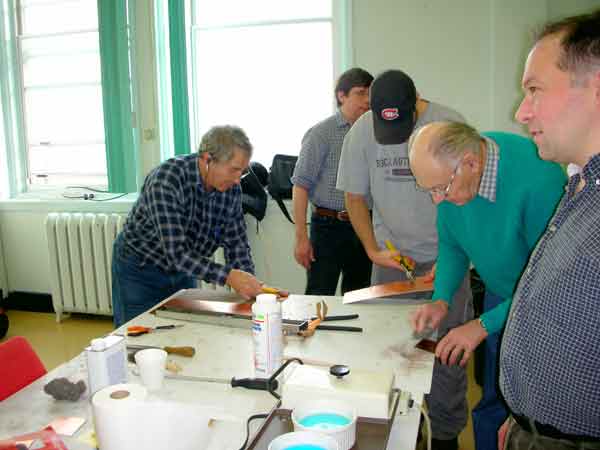
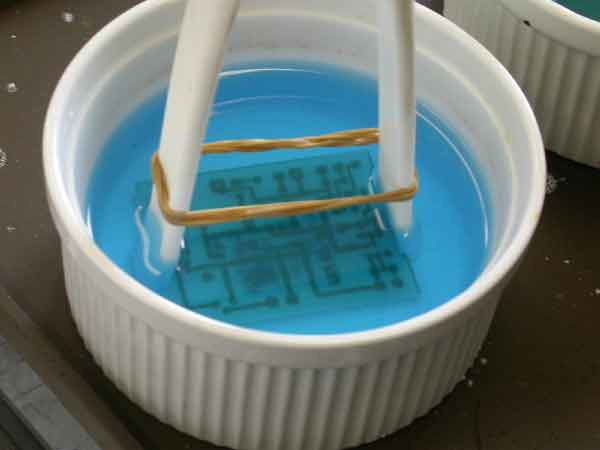
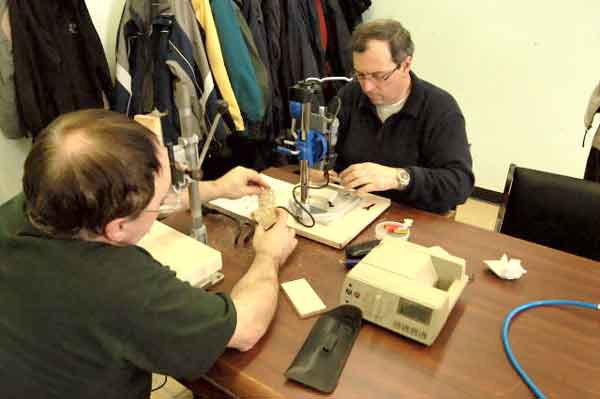
| All 33 PCB's were homemade. We trace the schematic with a Steadler red pen with a Plotter on copper cleaned with steel wool. The extra copper was remove using Persulfate d'Ammonium. | |||||||||||||||||||||||||||||
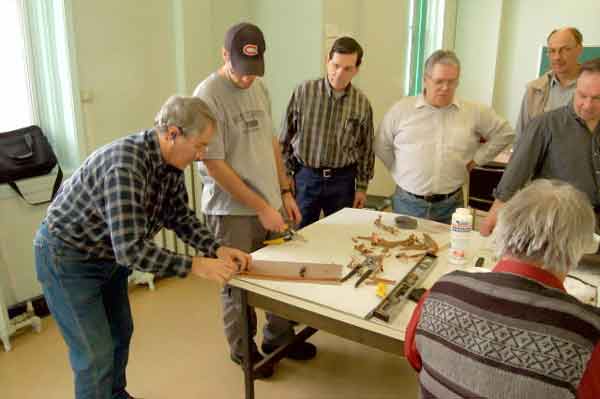
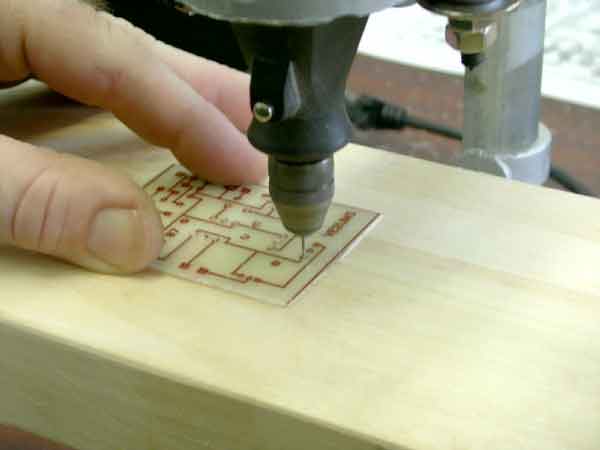
| We use a Dremel to make all the holes. | |||||||||||||||||||||||||||||
|
|
|
|||||||||||||||||||||||||||||
|
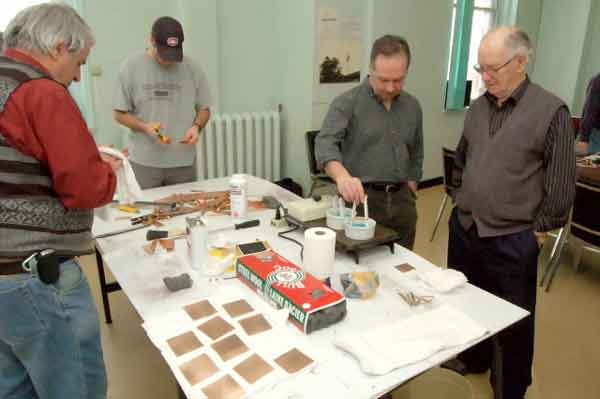
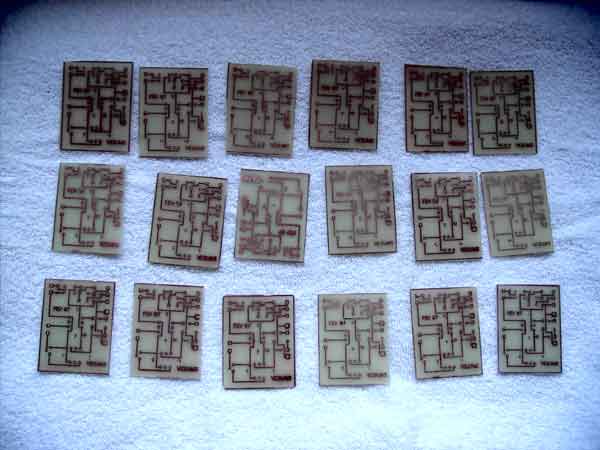
Making the PCB |
|||||||||||||||||||||||||||||
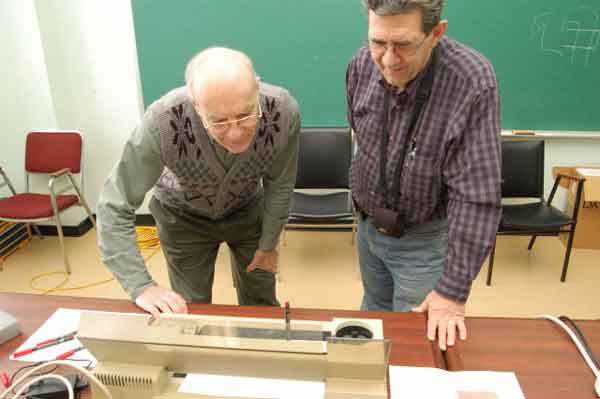
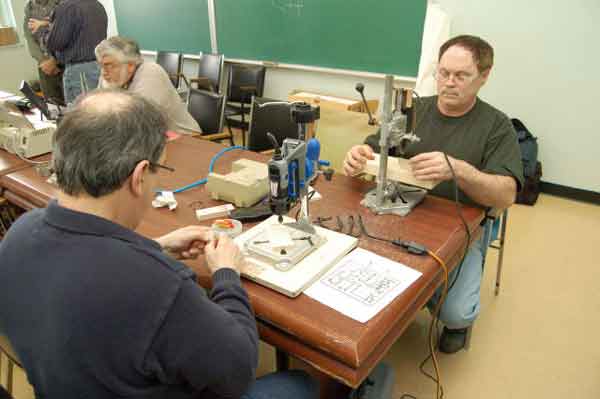
| All 33 PCB's were homemade. We trace the schematic with a Steadler red pen with a Plotter on copper cleaned with steel wool. The extra copper was remove using Persulfate d'Ammonium. | |||||||||||||||||||||||||||||
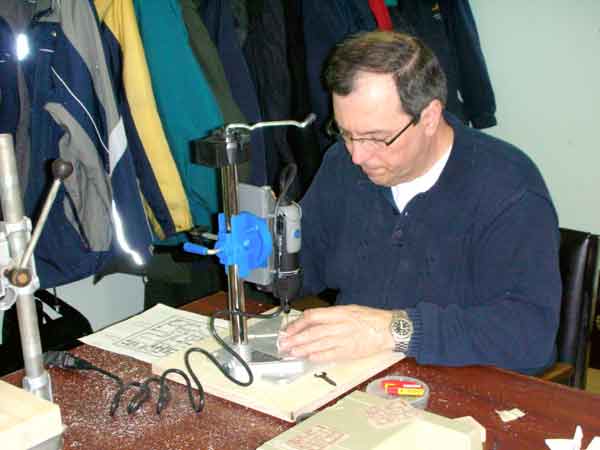
| We use a Dremel to make all the holes. | |||||||||||||||||||||||||||||
|
 |
 |
 |
| Removing the copper | A easy job | Mathieu VE2TMQ |
 |
 |
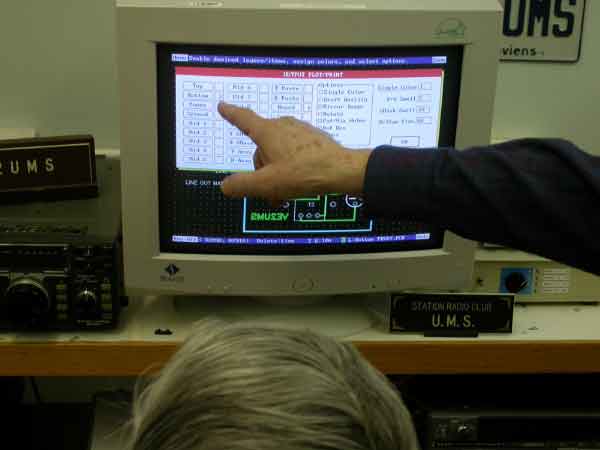 |
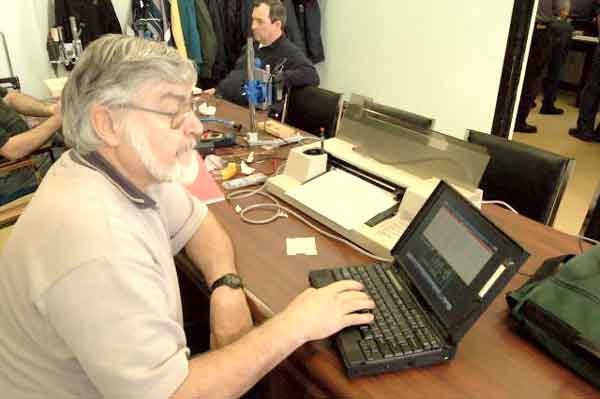
| Cleaning | The software Tango | The configuration |
 |
 |
 |
| Claude VE2CTP | Writing on the copper | Dryng the ink |
 |
 |
 |
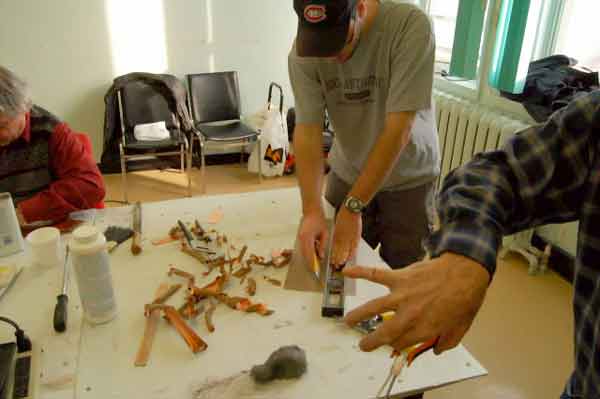
| File the 4 sides | Martin VE2MJT | We used 3 plotters |
 |
 |
 |
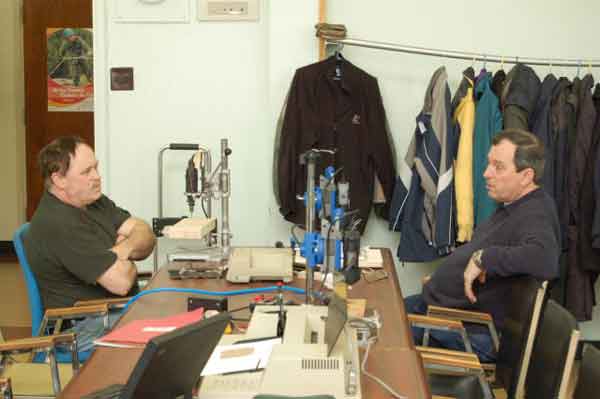
| About 10 minutes | The inspection | VE2PB and VE2GMR |
 |
 |
 |
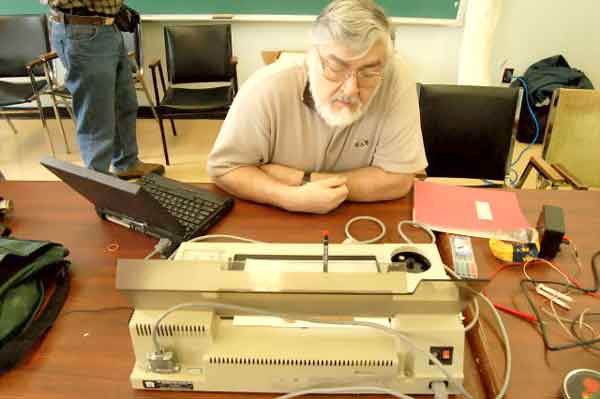
| VE2MJT plotter | Next PCB... | The plotter working |
 |
 |
 |
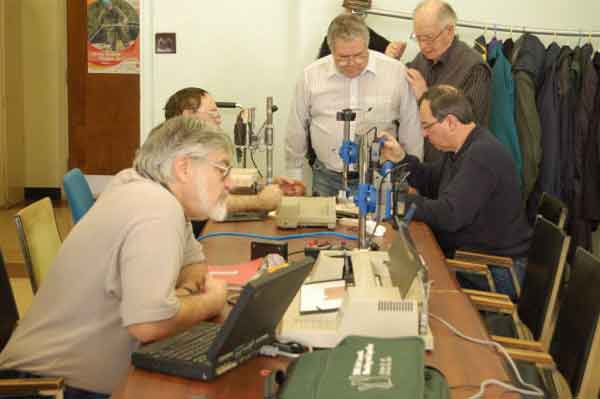
| Preparing the PCB | VE2AAT making a PCB | We need 33 PCB's |
 |
 |
 |
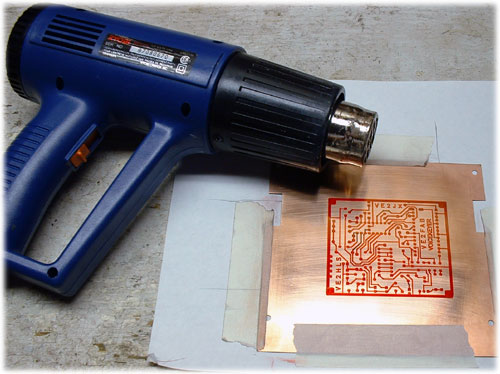
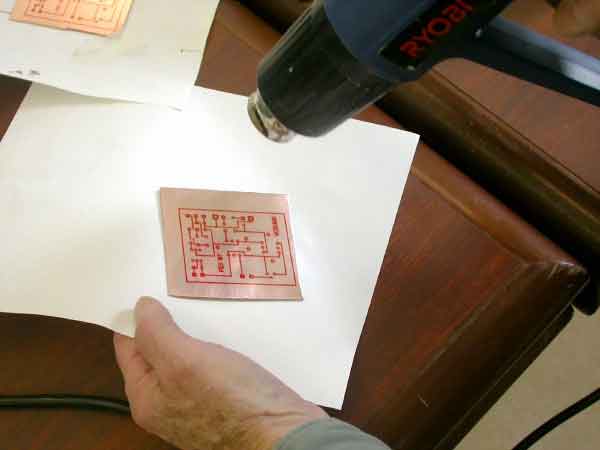
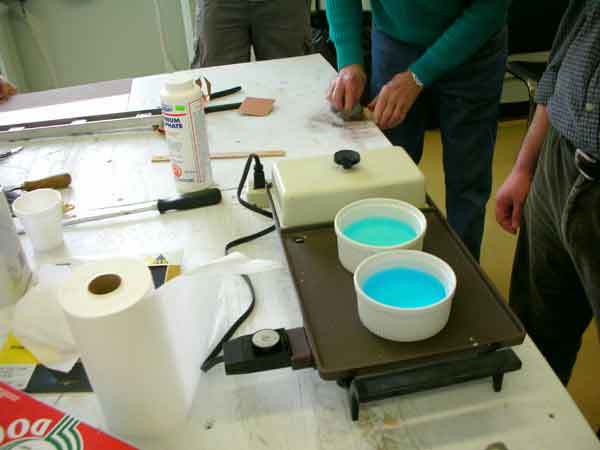
| Heating the ink | Preparation section | Wire wool section |
 |
 |
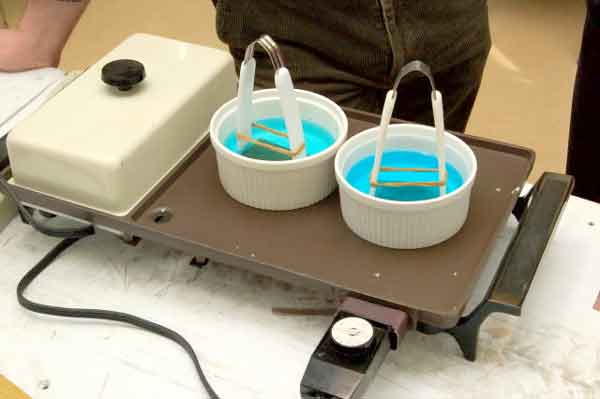 |
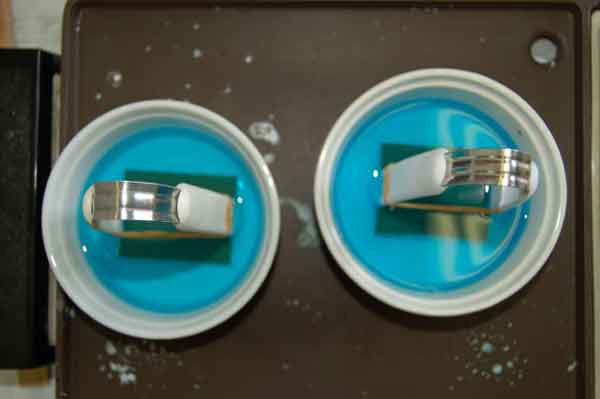
| The production | How we produce the heat | Heating to 100 deg. |
 |
 |
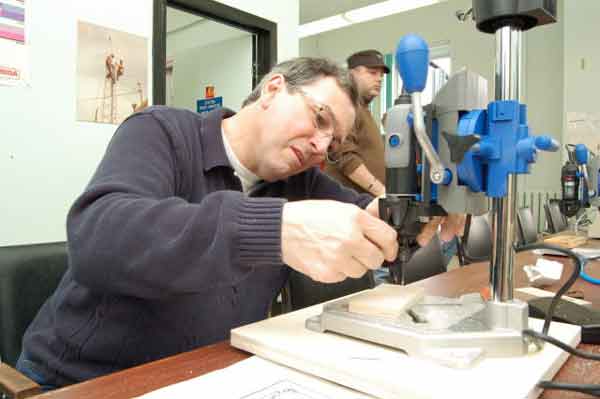 |
| Making 2 PCB's at the time | 10 minutes per PCB | Drilling |
 |
 |
 |
| VE2BP and VE2CGV | Two Dremels | Claude VE2CGV |
 |
 |
 |
| The Dremel is working | The Pcb's | VE2BP and VE2CGV |